"Signatures" might be a better term for the insides of this style of book. I like to use this form for the inside of an elaborate card, as well--they're great for holding photos and tags, ticket stubs and gift cards, so really, whatever you have in mind, from mini-album to graduation card, this style can work for you. The directions may seem involved, but really, this is very simple.
1. You'll need text weight paper, pretty much any size, but probably not smaller than an 8 1/2 x 11. I'm using a 12 x 12 of two sided lightweight scrapbook paper for this demo, hoping it will make things clearer.
2. Fold the paper in half, like a book.
3. Open the paper, and from the top edge, measure down anywhere between 1 and 3 inches--I did 2 1/2 for this 12x12 paper. Fold that down, and open it back up.
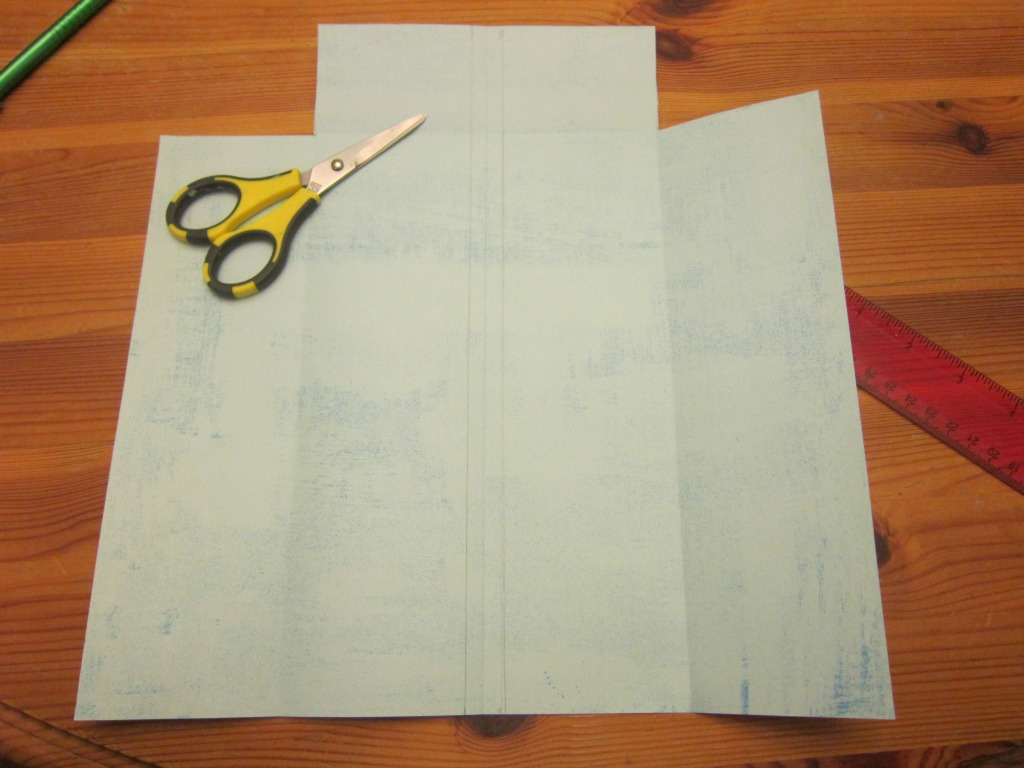
4. From the center fold, measure 1/4 inch out on either side, and mark that line from top to bottom lightly with pencil.
5. Fold in the two side edges of the paper, meeting each edge to its corresponding pencil line.
6. Open those sides up, and cut out the two top rectangles--they will be obvious from the fold lines.
7. Fold the side corners in as triangle, meeting them (but not overlapping) the side fold lines.
8. Bring the two edges back in to meet the 1/4 inch pencil lines.
9. Flip the paper over.
10. Bring the bottom edge up to meet the top flap fold--the fold line will be obvious, more so than in the photo, especially this blurry one!
11. Fold that top flap in and tuck it into the pockets.
12. The flaps should hold fairly securely, but I generally glue the edges down.
12. Fold in half, and voila! Finished origami pocket book guts!
Here is the outside cover of my most recent origami book, it has a vellum cover page, and a simple stitched cover. You'll find the easy how-to in this
post at the CutCardStock blog, and another book in this same style at the
Altered Pages Artsociates blog.
 |
| large passport stamps background from Just For Fun |
Thank you for stopping by, and if you have any questions about the directions, please feel free to ask, I'd be happy to help!