When asked to write up a tutorial for the current
theme (Use What You Have) at
Gingersnap Creations,
I knew exactly what I wanted to do!
This is, undoubtedly, one of my all-time favorite,
tried-and-true techniques. It's easy, it's fun,
the results are great, and guess what?? It uses
your stash, your scraps, whatever you have on hand--
perfect for this round of challenges at
Gingersnap.
But I'm always up for something new, so please leave
me a comment with
YOUR favorite background technique!
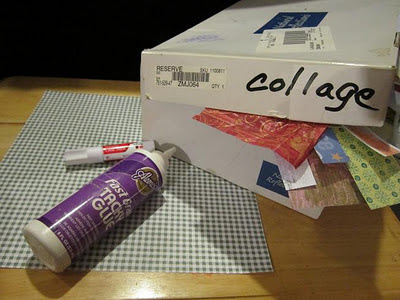
First, you need something for the base--I usually
choose an old piece of 12x12 scrap paper--plus
your favorite adhesive, and, of course, your scraps.
I keep mine in a (okay, yes, SEVERAL) collage boxes.
AKA as old shoe boxes, but that's beside the point . . .
Ready to dig in?
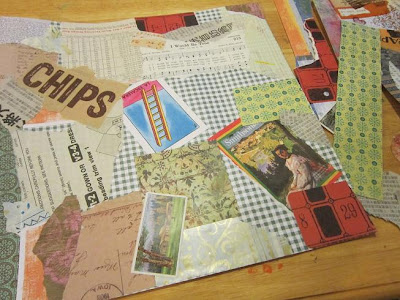
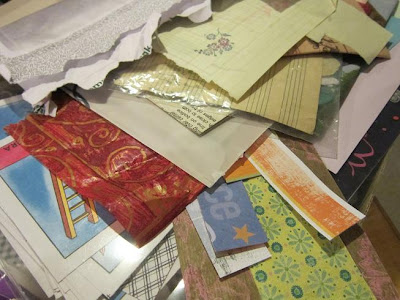
Start gluing scraps all over the base. Don't worry
about lining things up just right, and don't fret
about color combinations--don't think, just glue!
Sometimes it's helpful to continually turn the base
as you glue, to prevent a discernible "top" or "bottom"
to the background.
If you have some pet piece you want to remain in the
picture, be sure to save it until last, because you
really should . . .
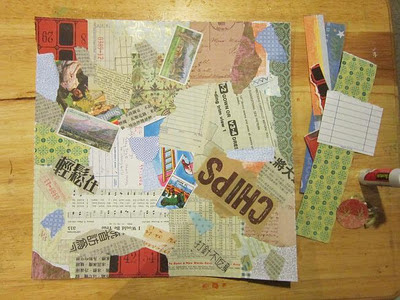 COVER
COVER the base. At this point, you could stop
and use your background piece as it is, but I
generally try and unify the colors somewhat.
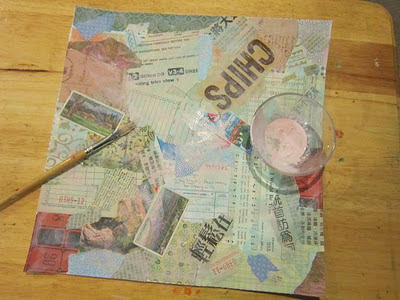
Here, I'm using a light acrylic wash, first in
a blue, and now with a pink.
Once again, you may want to stop here, but
why stop when you can
STAMP???
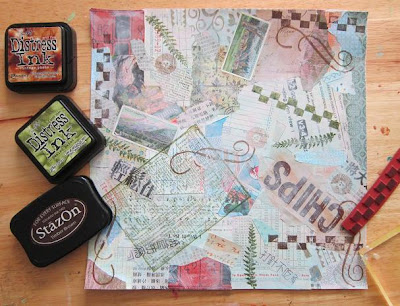
Randomly stamp images all over the background--
again, don't think too much, just stamp!
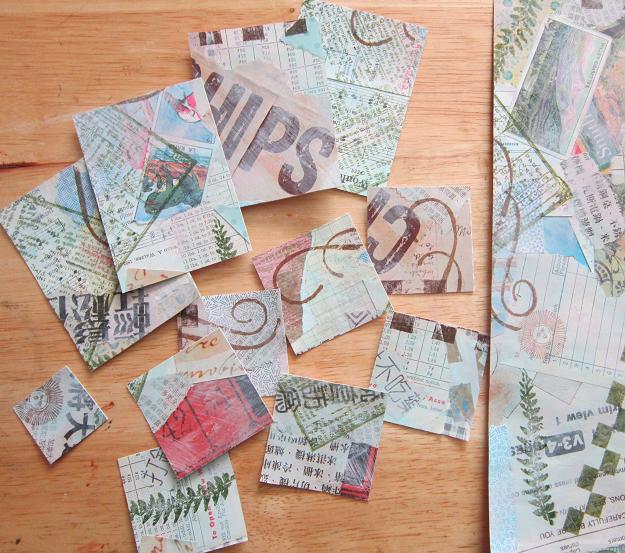
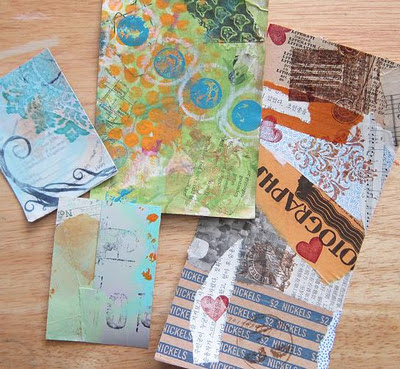
Finished? Whatchya gonna make? Time to
CUT:

Here are some twinchie (oh, did anyone mention
the
Gingersnap Twinchie art exchange??) and atc
backgrounds, all ready for some main images and
embellishments!
If that's too pastel for you, go bright like
I did in this background:
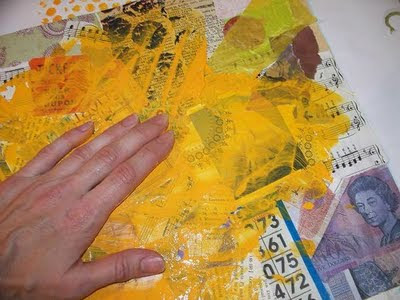
Squirt paint over the top of your background,
and then smear it around, making sure the paint
is thin enough that the images show through.
And there is always the option of more paint!
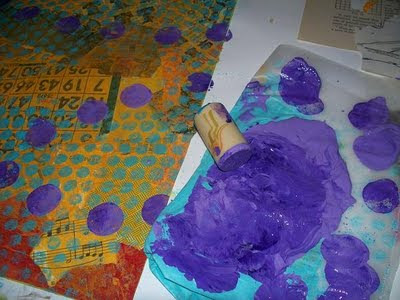
Here, I
printed with found objects.
Some other serendipity backgrounds:
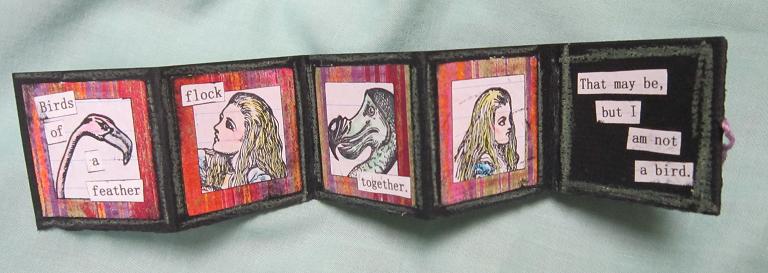
Some finished pieces using this type of background:
One Last Autumn in ParisAutumn in Paris skinny
Cats in Costumes ATCs
moo cards and holder (whoa, these are from 2008!)
What's
YOUR favorite background technique??
If you have a link, that's even better!
:)